How to Integrate CIP Valves into Existing Packaging Lines
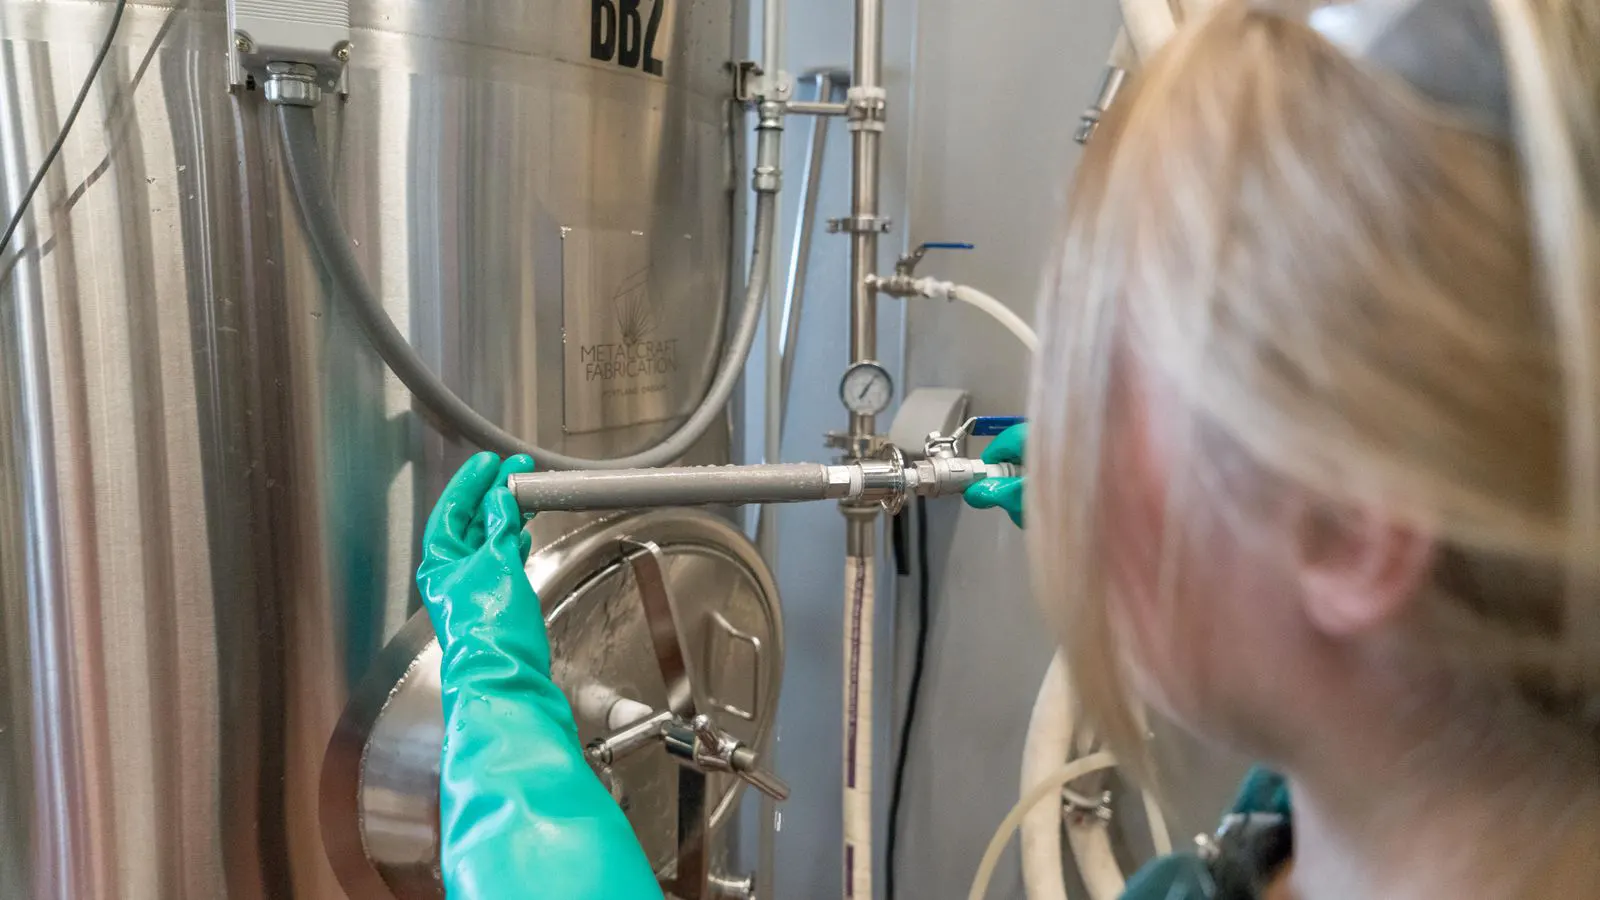
CIP integration on legacy packaging lines involves replacing manual clean points with automated valves, adding stainless steel piping, and connecting to a CIP controller. The process requires careful planning to maintain line speed, meet hygiene standards, and avoid costly rework during the retrofit.
- CIP integration requires replacing manual access points with automated hygienic valves and adding dedicated stainless steel piping.
- A successful retrofit depends on verifying that the line can handle CIP chemistry and that the controller can sequence the wash cycle correctly.
- Common mistakes include insufficient drain points, using non-food grade materials, and failing to validate the final rinse stage.
Why Retrofit CIP onto Legacy Packaging Lines
Adding CIP capability to older packaging equipment is a common way to reduce cleaning downtime and improve hygiene without replacing the entire line. Legacy machines often have manual clean points, such as removable covers or hand-wash access panels, that create bottlenecks and increase the risk of contamination. CIP integration automates these steps, allowing operators to run a controlled wash cycle while the line remains isolated.
This approach is particularly useful when a facility is expanding production or moving into high-risk product categories. The goal is to maintain the existing mechanical footprint while upgrading the cleaning process to meet current hygiene expectations. The challenge lies in the fact that older machines were not designed with automated cleaning in mind. Every retrofit requires careful assessment of the machine’s geometry, materials, and control system.
Prerequisites for a Successful CIP Integration
Before selecting parts or ordering valves, the engineering team must complete a detailed assessment of the line. This phase determines whether the machine can be retrofitted or if structural changes are required.
- Identify all wetted surfaces. Map every component that contacts the product, including hoppers, augers, nozzles, and conveyor belts. Look for blind spots where cleaning fluid might not reach.
- Verify material compatibility. Check the material grade of all exposed surfaces. Food grade stainless steel 316L is the standard for wetted parts, but older lines may contain cast iron or non-food grade plastics.
- Review the control system. Determine if the existing PLC can handle a new CIP sequence. If not, a small external controller or a retrofit module may be needed.
- Confirm utility connections. Ensure there is adequate water pressure, steam supply, and drain capacity at the line. CIP cycles can generate significant volume.
- Plan for access. Retrofitting often requires removing covers or panels. Plan for safe access to the internal components during installation.
These prerequisites form the foundation of the project. Skipping any of them can lead to costly rework or a system that fails to clean effectively.
Step-by-Step CIP Integration Process
The physical integration of CIP systems into legacy packaging lines follows a structured sequence. Each step addresses a specific risk or requirement.
- Isolate the machine from the main line. Disconnect the packaging machine from the product flow and utility connections. This prevents cross-contamination and protects the equipment during installation.
- Replace manual clean points with hygienic valves. Install automated valves at every location where cleaning fluid must enter or exit. These valves replace manual wash nozzles and access panels.
- Install dedicated CIP piping. Run polished stainless steel piping to each valve. The piping must have a smooth interior and no dead legs. Use appropriate fittings and avoid elbows that are difficult to clean.
- Add a CIP controller. Connect the valves to a controller that can sequence the wash cycle. The controller should allow for different programs for different products and should log cycle times and temperatures.
- Connect the drain system. Route the dirty wash water to a suitable drain. Ensure the drain is located at the lowest point of the machine to allow gravity flow.
- Verify the final rinse. Add a stage for clean water or purified water rinse. This stage is critical for removing any residual chemistry and meeting hygiene standards.
- Test the system. Run a full CIP cycle with water only. Check for leaks, verify valve operation, and confirm that the drain is functioning.
- Validate the cleaning process. Run a formal validation cycle, including a swab test or ATP test, to confirm that the system meets the required hygiene level.
Each of these steps is designed to ensure that the CIP system works reliably and that the machine is cleaned thoroughly. The controller sequence is particularly important, as it dictates the duration and concentration of the wash chemicals.
Common Mistakes in CIP Integration
Even well-planned retrofits can fail if certain errors are made. Understanding these common mistakes helps teams avoid costly issues.
- Using non-food grade materials. Installing standard carbon steel or plastic components in wetted areas can lead to corrosion and contamination.
- Insufficient drain points. Without a low point drain, dirty water can remain in the piping or machine body, creating a breeding ground for microorganisms.
- Ignoring the final rinse. Skipping the clean water rinse stage leaves chemical residues on the product contact surfaces.
- Poor controller programming. A CIP cycle that is too short or at too low a temperature will not clean effectively. The program must be tailored to the specific product and machine.
- Lack of documentation. Failing to record the CIP sequence, valve locations, and material grades makes it difficult to verify compliance during an audit.
These mistakes are often preventable with careful planning and attention to detail.
Verification and Validation
The final step in any CIP integration project is verification. This is not just a test run, but a formal process to confirm that the system meets the required hygiene standards.
- Perform a visual inspection. Check for any leaks, loose fittings, or debris in the piping.
- Run a full CIP cycle. Use the standard program for the highest-risk product. Record the time, temperature, and chemical concentration for each stage.
- Conduct a swab test. Swab the wetted surfaces after the final rinse. Send the swabs to a laboratory for microbial analysis.
- Review the controller logs. Ensure that the cycle was completed as programmed and that all valves opened and closed at the correct times.
This verification process provides evidence that the CIP system is effective. It is also a key document for audits and regulatory inspections.
Cost Considerations for Legacy Machine Retrofits
The cost of CIP integration varies widely depending on the complexity of the machine and the number of wetted surfaces. A simple line with a few clean points may require only a small valve kit and a basic controller. A complex line with many internal components may require extensive piping and a more sophisticated control system.
The main cost drivers are:
- Number of valves and fittings. Each valve and fitting adds to the material and installation cost.
- Piping length and complexity. Longer runs and more complex routing increase labor and material costs.
- Controller complexity. A simple controller is cheaper than a system with multiple programs and data logging.
- Labor. The installation requires skilled technicians, and the time required depends on the machine’s accessibility.
While the upfront cost can be significant, the long-term savings from reduced cleaning time and labor often justify the investment.
Maintenance and Long-Term Reliability
A CIP system is only as good as its maintenance. Regular checks are needed to ensure that the valves continue to operate correctly and that the piping remains clean.
- Inspect valves regularly. Check for leakage and ensure that the stems are not corroded.
- Flush the piping. Run a short water cycle between production runs to prevent product build-up.
- Check the drain. Ensure that the drain is not blocked by debris or scale.
- Review the controller logs. Look for any errors or deviations in the CIP cycle.
Proper maintenance extends the life of the CIP system and ensures that it continues to meet hygiene requirements.
Final Thoughts
CIP integration into legacy packaging lines is a practical way to improve hygiene and reduce cleaning downtime. The process requires careful planning, the right parts, and a solid verification step. By following the steps outlined above, teams can add CIP capability to older machines without replacing the entire line. The key is to treat the retrofit as a comprehensive system upgrade, not just a simple valve replacement.
Frequently asked questions
Can I add CIP to a machine that has no existing clean points?
Yes, but it requires more planning. You will need to identify where cleaning fluid can enter and exit the machine, which may involve adding new ports or modifying the machine body.
What type of valves are best for CIP integration?
Hygienic ball valves or butterfly valves made from food grade stainless steel are commonly used. They must be designed for the specific CIP chemistry and pressure range of the system.
How long does a CIP cycle typically take?
It depends on the machine and the product. A standard CIP cycle can take anywhere from 30 minutes to several hours. The duration is determined by the wash, rinse, and sanitize stages.
Do I need a special controller for CIP?
Not necessarily. If the existing PLC can handle the logic, you can program the CIP sequence into it. Otherwise, a small external CIP controller is often easier to install and operate.
What is the biggest risk with CIP integration on legacy machines?
The biggest risk is not cleaning all the wetted surfaces. If there are blind spots or dead legs, the system will not be effective. A thorough assessment of the machine geometry is essential.