How to Implement CIP Systems for High-Speed Packaging Equipment
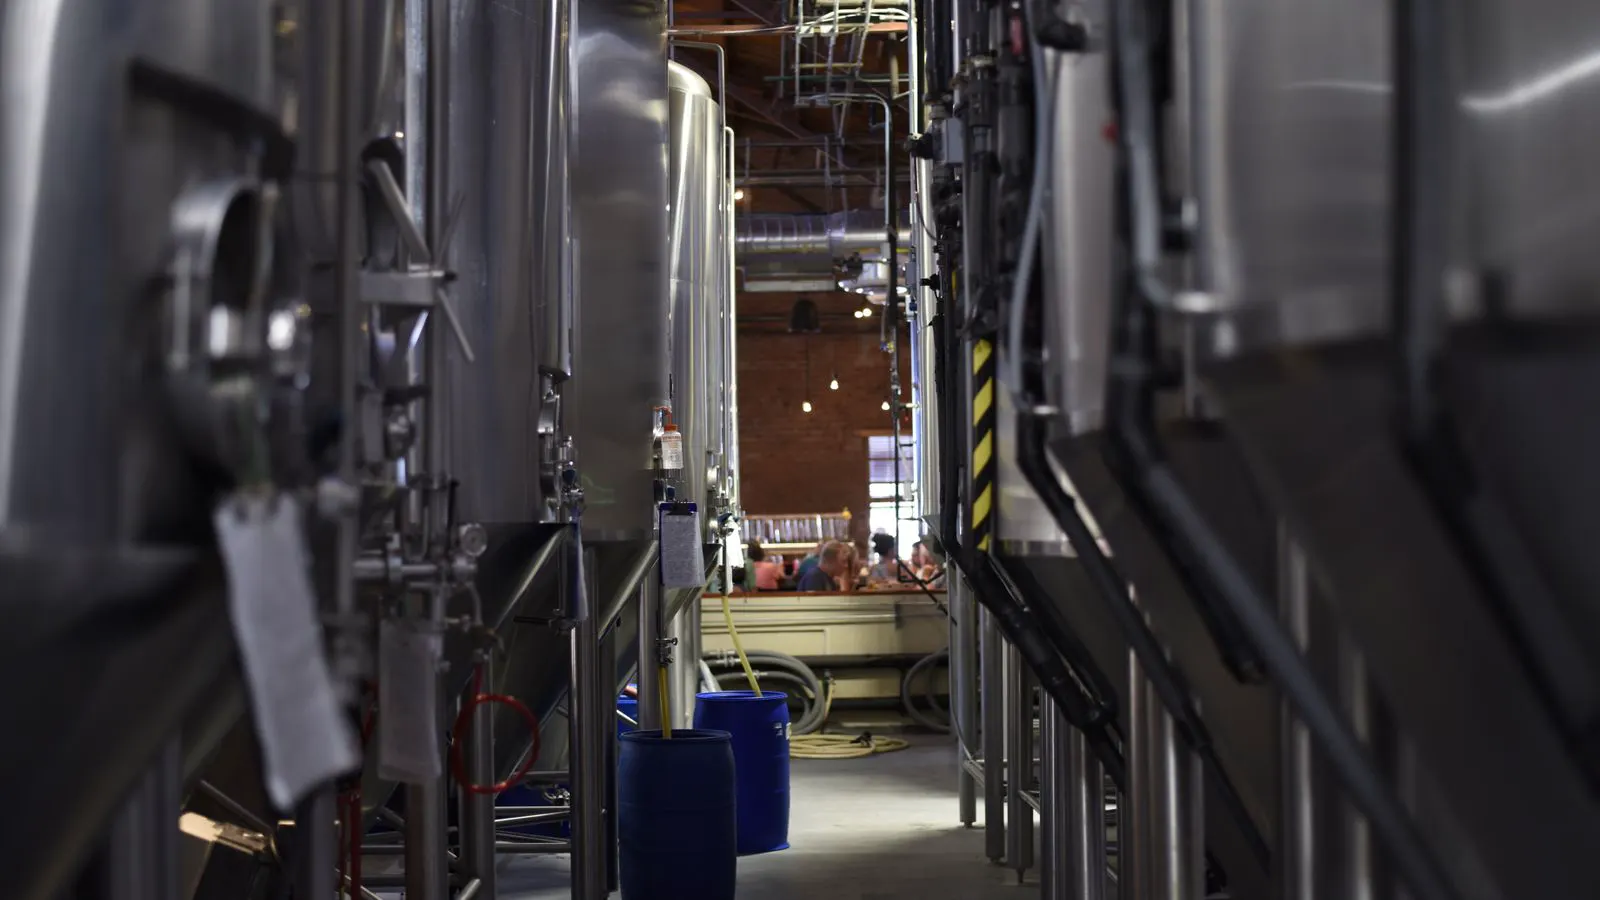
Implementing CIP systems for high-speed packaging equipment requires careful design of valves, nozzles, and controls. This guide outlines the technical steps to ensure effective clean in place cycles, reducing downtime and maintaining hygiene standards across the line.
- CIP effectiveness depends on removing dead legs and ensuring proper flow velocity through every product contact surface.
- Automated control sequences prevent human error and ensure consistent contact times and temperatures for every wash cycle.
- Validation through swabbing and ATP testing confirms that the implemented system actually achieves the required cleanliness level.
- Regular inspection of nozzles and valves is critical to prevent clogging and maintain the integrity of the cleaning process.
- Integrating CIP with the existing line control system simplifies operation and reduces manual intervention during high-speed production.
Why High-Speed Packaging Demands CIP Integration
High-speed packaging lines operate in cycles that make manual cleaning impractical and often insufficient. When a machine runs at full capacity, there is little opportunity to disassemble and wash individual components without causing significant production loss. Implementing clean in place systems allows operators to sanitize and clean the entire machine while it remains assembled. This approach is essential for maintaining food safety standards and meeting the rigorous requirements of modern hygiene regulations.
Prerequisites for a Successful Installation
Before you begin to implement CIP systems, you must ensure the machinery is physically capable of handling the process. The machine design is the foundation of any successful clean in place setup. If the equipment has inaccessible pockets or complex internal geometries, no amount of control logic will compensate for the physical limitations.
- Sanitary Design Review: Inspect the machine for dead legs, crevices, or rough surfaces. Ensure all product contact surfaces are made of non-porous materials like stainless steel.
- Valve and Actuator Check: Identify where manual valves need to be replaced with pneumatic or electric actuators. CIP requires automated closure of all product paths.
- Instrumentation Audit: Verify that temperature sensors and pressure transducers are available at critical points. You need real-time data to confirm the wash cycle is working correctly.
Step-by-Step Implementation Process
Once the prerequisites are met, the actual implementation follows a structured engineering path. Each step below addresses a specific technical requirement for effective cleaning.
- Map the Product Flow: Create a detailed diagram of every path the product takes through the machine. Identify every joint, seal, and valve. This map dictates where your CIP nozzles and inlets must be placed.
- Install CIP Nozzles: Mount wash nozzles directly on the product contact surfaces. The reason for this placement is to ensure direct impingement of the cleaning solution on the most critical areas, breaking up product deposits with force rather than relying on passive flow.
- Fit Inlet and Outlet Ports: Connect the machine to the CIP manifold. You need dedicated lines for water, detergent, sanitizer, and final rinse. The reason for dedicated lines is to prevent cross-contamination between different cleaning chemicals.
- Automate the Control Sequence: Program the machine controller to manage the CIP cycle. This involves sequencing the opening and closing of valves, controlling pump speeds, and managing temperature. The reason for automation is consistency; manual operation leads to variable contact times and missed steps.
- Configure Flow and Temperature Profiles: Set the parameters for each phase of the wash. Typically, this involves a pre-rinse, a hot detergent wash, a hot water rinse, a sanitizer application, and a final cold water rinse. The reason for specific temperature profiles is that heat helps dissolve fats and proteins, while specific contact times ensure chemical activity.
- Integrate with the Line HMI: Connect the CIP status to the main Human-Machine Interface. This allows operators to initiate the cycle from the main console and view real-time status. The reason for this integration is to reduce the number of screens the operator must monitor, lowering the chance of error.
- Perform System Flush: Before the first production run after installation, run a full cycle with water only. This removes any debris from the new piping and verifies that all nozzles spray correctly and that pressure is maintained throughout the system.
Common Mistakes in CIP Implementation
Even with a careful plan, errors can occur during installation and commissioning. Avoiding these common pitfalls ensures the system performs as intended.
| Mistake | Impact on Cleaning | Solution |
|---|---|---|
| Inadequate Flow Velocity | Slow-moving water cannot dislodge product deposits | Increase pump capacity or reduce nozzle size to increase velocity |
| Dead Legs in Piping | Stagnant water in unused lines breeds bacterial growth | Route lines to minimize unused sections; use angled nozzles to sweep the area |
| Incorrect Chemical Concentration | Sub-par cleaning or overuse of chemicals | Use automated dosing pumps with precise calibration |
| Missing Final Rinse | Chemical residue remains on product contact surfaces | Add a dedicated final rinse phase to the control sequence |
| Nozzle Clogging | Uneven coverage and missed areas | Implement a pre-filter on the CIP supply line and schedule regular inspection |
Verifying CIP Effectiveness
Installation is only the beginning. You must verify that the system actually delivers the required level of cleanliness. Without verification, you cannot prove compliance to auditors or guarantee product safety.
The final verification step involves a two-part approach: visual inspection and analytical testing.
- Visual Inspection: After the first few cycles, open non-critical access panels to visually check for any remaining product residue. Look for streaks or film on stainless steel surfaces.
- ATP Testing: Use Adenosine Triphosphate (ATP) swabbing on critical contact points. This provides a rapid, quantitative measure of organic residue.
- Microbiological Swabs: For periodic validation, take swabs from various points on the machine and send them to a lab for culture. This confirms that the CIP process is reducing microbial load to acceptable levels.
By following these verification steps, you create a documented trail of evidence that your clean in place system is effective. This documentation is often required during regulatory audits and is essential for maintaining customer confidence in your hygiene practices.
Conclusion
Implementing CIP systems for high-speed packaging equipment is a strategic move that enhances hygiene, reduces downtime, and simplifies operator tasks. The success of this implementation relies on a combination of proper machine design, accurate engineering, and rigorous verification. By addressing the prerequisites, following a structured installation process, and avoiding common mistakes, you can ensure your packaging line meets the highest standards of cleanliness. The result is a more robust production environment that supports both operational efficiency and food safety compliance.
Frequently asked questions
How often should I run a full CIP cycle?
The frequency depends on your product type and production schedule. As a general rule, run a full cycle at the start of every shift and between different product runs.
Can I use a standard CIP manifold for any machine?
No. A standard manifold may not fit the specific geometry of your machine. You need a custom-designed manifold or manifold section that aligns with your specific valve and nozzle layout.
What is the difference between CIP and manual washing?
CIP cleans the machine while it is assembled, using automated cycles. Manual washing requires disassembly, which is slower, more labor-intensive, and often less consistent.
Do I need a separate pump for each chemical?
It is recommended to use separate pumps or a dosing system that prevents cross-contamination. Using a single pump for all chemicals can lead to chemical mixing and reduced effectiveness.
How do I know if my nozzles are clogged?
Monitor the pressure drop across the CIP system. A significant increase in pressure during the wash phase can indicate blockages. Visual inspection of the nozzles is also required periodically.