How to Set Up a Liquid Filling Line Step by Step
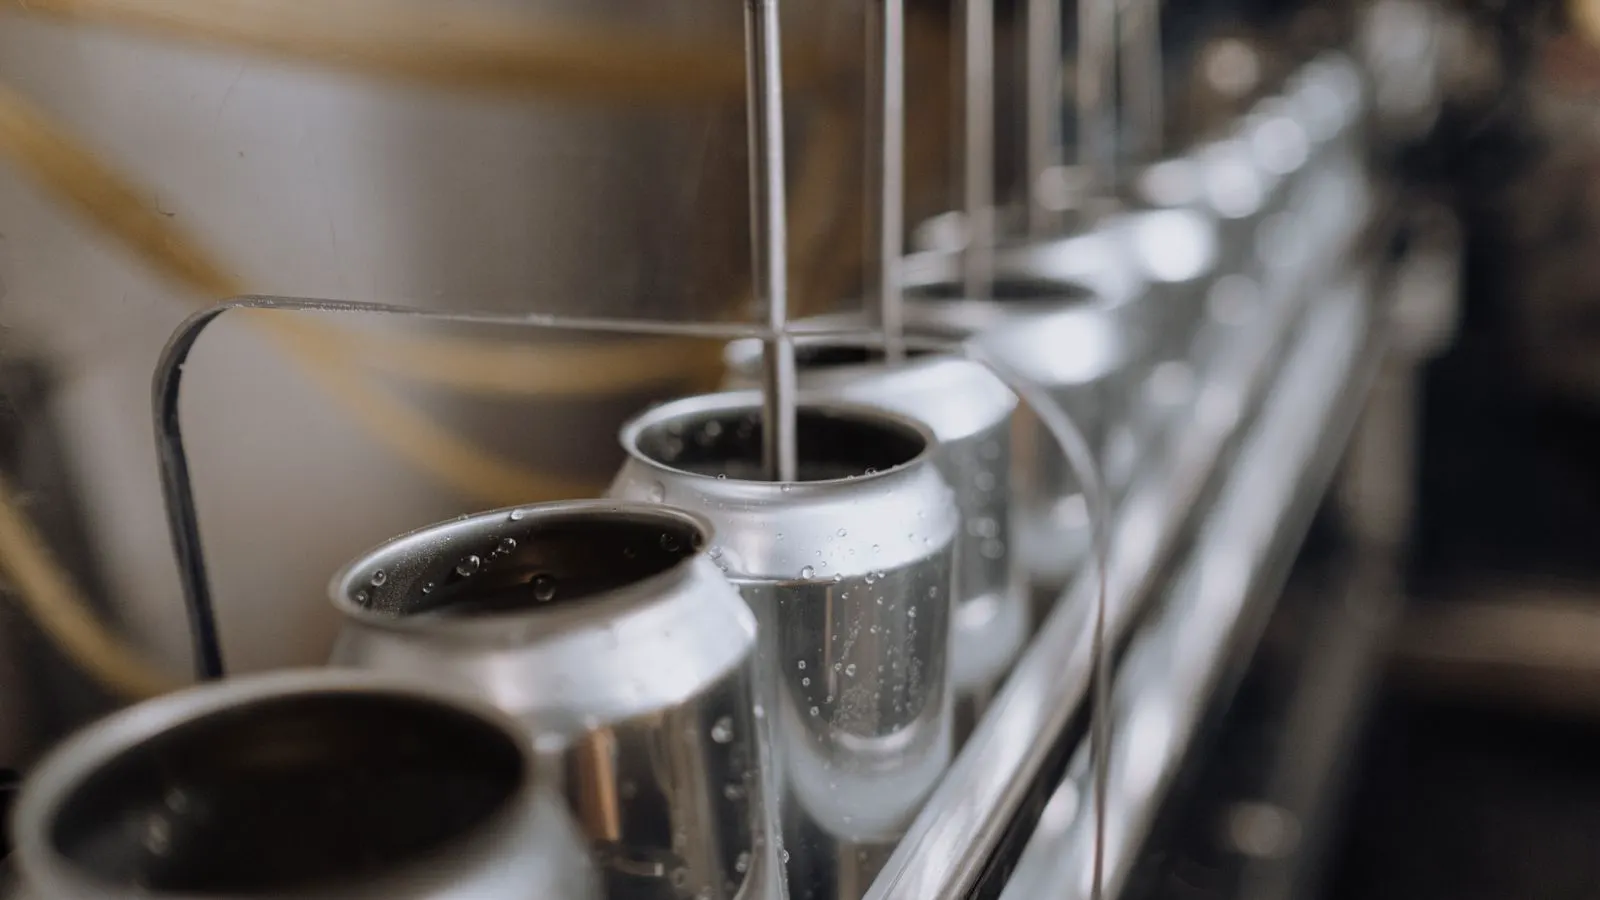
Setting up a liquid filling line requires aligning equipment, verifying utility connections, and running controlled trials. This guide outlines the physical and procedural steps needed to install, configure, and verify a liquid filler before full production begins.
- Verify utility connections, product compatibility, and machine dimensions before the installation team arrives.
- Run the line with water first, then low-speed product trials, to catch leaks, misalignment, and flow issues early.
- Document settings, torque values, and calibration data to make future maintenance and restarts faster and safer.
Check prerequisites before equipment arrives
A liquid filler line will not run well if the site is not prepared. Before the machine leaves the factory or arrives at your plant, confirm that the space, utilities, and product data are ready.
Start with the footprint. Measure the floor area needed for the filler, the infeed and outfeed conveyors, the labeling station, and the palletizer if those are part of the line. Check door widths, loading dock heights, and overhead clearances. A common mistake is assuming the machine can be moved into the room after the surrounding equipment is already installed.
Next, confirm the utilities. Liquid fillers need compressed air, electrical power, and often a water supply for cleaning. Check the voltage, phase configuration, and amperage. Compressed air lines need the correct pressure and filtration. If the product requires heated lines, verify that steam or hot water connections are available and insulated.
Finally, review the product data. Viscosity, temperature, particle size, and pH determine gasket materials, pump types, and nozzle designs. Send this data to the machine supplier. If the product changes between batches, the line may need to be reconfigured.
Plan the process flow and equipment layout
The process flow determines where the filler sits relative to the product tank, the conveyor system, and the downstream packaging stations. A clear layout reduces product dwell time and makes cleaning easier.
Draw a simple flow diagram. Mark the product tank, the filler, the conveyor, the capper or sealer, and the reject area. Decide which direction the product moves. Most lines run left to right, but site constraints may require a different path.
Keep the filler close to the product tank to minimize tubing length. Long lines increase pressure loss and make cleaning harder. Position the filler so operators can reach the controls and inspection points without stepping into the product path.
Consider access for maintenance. Leave room for gasket changes, pump service, and nozzle replacement. If the line will run for long periods, plan for a breakaway point where the machine can be isolated during cleaning.
Install the filler and connect the utilities
Once the site is ready, the installation team positions the filler. Level the machine on a stable foundation. Uneven floors cause vibration, which leads to leaks and poor fill accuracy. Use the manufacturer’s leveling feet and a bubble level.
Secure the machine to the floor if required. Some fillers have vibration-damping mounts; others need anchoring bolts. Follow the torque specifications in the installation manual.
Connect the utilities one at a time. Start with compressed air. Check the regulator, filter, and lube unit. Connect the power. Verify the correct phase rotation before energizing the main drive. If the rotation is wrong, the pump will run in reverse and damage the seals.
Run a visual inspection. Check for loose bolts, kinked hoses, and exposed wiring. Confirm that all emergency stops are accessible and functional.
Configure the line for the specific product
A liquid filler must be configured for the product it will handle. This includes setting the fill volume, flow rate, and nozzle type.
Set the initial fill volume. Start with a value slightly below the target. Run a small batch and measure the output with a calibrated scale or graduated cylinder. Adjust the pump timing or valve opening until the average fill matches the target. Record the setting.
Choose the correct nozzle. A needle nozzle works for low-viscosity liquids. A valve nozzle handles viscous products. A static nozzle is used for sensitive or foaming liquids. The wrong nozzle causes splashing, foaming, or incomplete fills.
Set the conveyor speed. The filler must keep pace with the product. If the conveyor is too fast, bottles may not be fully filled. If it is too slow, the line runs inefficiently. Test the speed with empty bottles first.
Adjust the capper or sealer. The torque and timing must match the filler output. If the capper is too slow, product sits exposed. If it is too fast, bottles may be capped before the fill completes.
Run a water trial before product
Never run a new line with the final product until it has been tested with water. Water is cheap, easy to clean, and reveals leaks that product might hide.
Fill the system with water. Start the pump at low speed. Watch the nozzles. Look for drips, spurts, or uneven flow. Check the tubing connections. A small leak at a fitting will become a flood when the system is pressurized with product.
Run the water through the capper or sealer. Make sure the water does not contaminate the sealing area. If the product is hygienic, the water trial should use clean water and the line should be flushed before product use.
Record any adjustments. Note valve settings, pump speeds, and conveyor speeds that produce a stable flow. This baseline makes product trials easier to compare.
Perform a low-speed product trial
After the water trial, flush the system with the product. Run the line at 25 to 50 percent of the target speed. Do not run at full speed until the settings are stable.
Check the fill volume. Take samples from the first, middle, and last bottles in the trial. Weigh them. If the average fill is off, adjust the pump or valve. Re-run the samples.
Inspect the seal. Open a few bottles. Check the cap torque. Look for product on the threads or the cap top. A weak seal means the product may leak in storage.
Check the reject area. If the line has a reject station, make sure it is removing bottles that fail the fill or seal check. A line that rejects too many bottles wastes product. A line that rejects too few wastes customer trust.
Verify the line before full production
The final verification step is a short, controlled run at the target speed. Run the line for at least ten minutes. Monitor the fill volume, seal quality, and conveyor speed.
Take a final sample. Weigh it. Confirm the fill is within your acceptance range. Check the seal on a random selection of bottles.
Document the settings. Record the pump speed, valve opening, conveyor speed, and capper torque. Store the document in the machine’s maintenance folder.
Assign an operator. The operator must know how to start, stop, and clean the line. Walk them through the controls. Confirm they can reach the emergency stops.
Sign off on the line. Once the operator and the engineer agree the line is ready, begin full production. Keep a log of the first hour. Note any issues. If the fill drifts, adjust the settings immediately. Do not wait for the end of the shift.
Common mistakes during setup
| Mistake | Effect | How to avoid it |
|---|---|---|
| Ignoring floor leveling | Vibration, leaks, poor accuracy | Use leveling feet and a bubble level before securing the machine |
| Skipping the water trial | Undetected leaks, product waste | Run the line with water at low speed before product trials |
| Wrong nozzle type | Splashing, foaming, incomplete fills | Match the nozzle to the product viscosity and sensitivity |
| Conveyor speed too high | Incomplete fills, product spillage | Start at 25 to 50 percent speed and adjust gradually |
| No documentation | Inconsistent restarts, longer downtime | Record all settings, torque values, and calibration data |
Final checks before production
Before the first full run, confirm the following.
- The machine is level and secure.
- All utilities are connected and functioning.
- The nozzle matches the product.
- The fill volume is within range.
- The seal is consistent.
- The reject area is working.
- The operator is trained.
- Emergency stops are accessible.
If any check fails, correct it before starting the line. A small issue now becomes a large problem later.
Keep the setup records for future use
The settings you record during setup are not just for the first run. They are your baseline. When the product changes, when a part is replaced, or when a new operator takes over, you can return to the documented settings.
Store the records with the machine. Keep a paper copy in the control room and a digital copy in your maintenance system. Review them after each major change. A line that is set up correctly and documented well runs smoother and with less downtime.
The setup of a liquid filling line is a physical and procedural task. It requires careful planning, methodical execution, and verification. Follow the steps in order. Test with water. Run low-speed trials. Verify the output. Then begin production.
Frequently asked questions
How long does a liquid filler line setup take?
Setup time depends on the line complexity and site readiness. A basic filler may take a day or two. A full line with conveyors, labeling, and palletizing can take several days.
Can I set up a liquid filler without a supplier technician?
Some lines can be installed by trained in-house staff if the documentation is clear and the site is prepared. Complex lines with pumps, nozzles, and conveyors usually require supplier support.
What should I check if the fill volume is inconsistent?
Check the nozzle for clogs, the pump for air leaks, and the conveyor for speed stability. Verify the product viscosity has not changed.
Is a water trial always necessary?
Yes. A water trial reveals leaks and flow issues without using product. It also allows you to test the capper and conveyor before the line is wet with the final product.
How often should I recheck the fill volume?
Check at the start of each shift, after any product change, and after any maintenance. Drift can happen even on a stable line.